Workflow
Udio music video workflow: turn an export into a real release
If you need a Udio music video workflow, start with the song export, not with a random prompt. The finished track already gives you the pace, mood, chorus lift, and visual pressure. The video should follow those signals instead of treating the audio like background music for unrelated AI clips.
Udio creators often reach the same awkward moment. The song feels good. The cover image is decent. Then the release starts to look thin because YouTube, Shorts, Reels, and the thumbnail all need more than one square image. A simple workflow keeps the release from turning into another folder of half-finished assets.
Pick the export you would actually publish
Do not build a video around every Udio draft. Choose the version with the clearest hook, the cleanest ending, and the fewest moments you want to explain away later. Export the audio at the quality you plan to use for the public release, then name the file like a release asset instead of a test render.
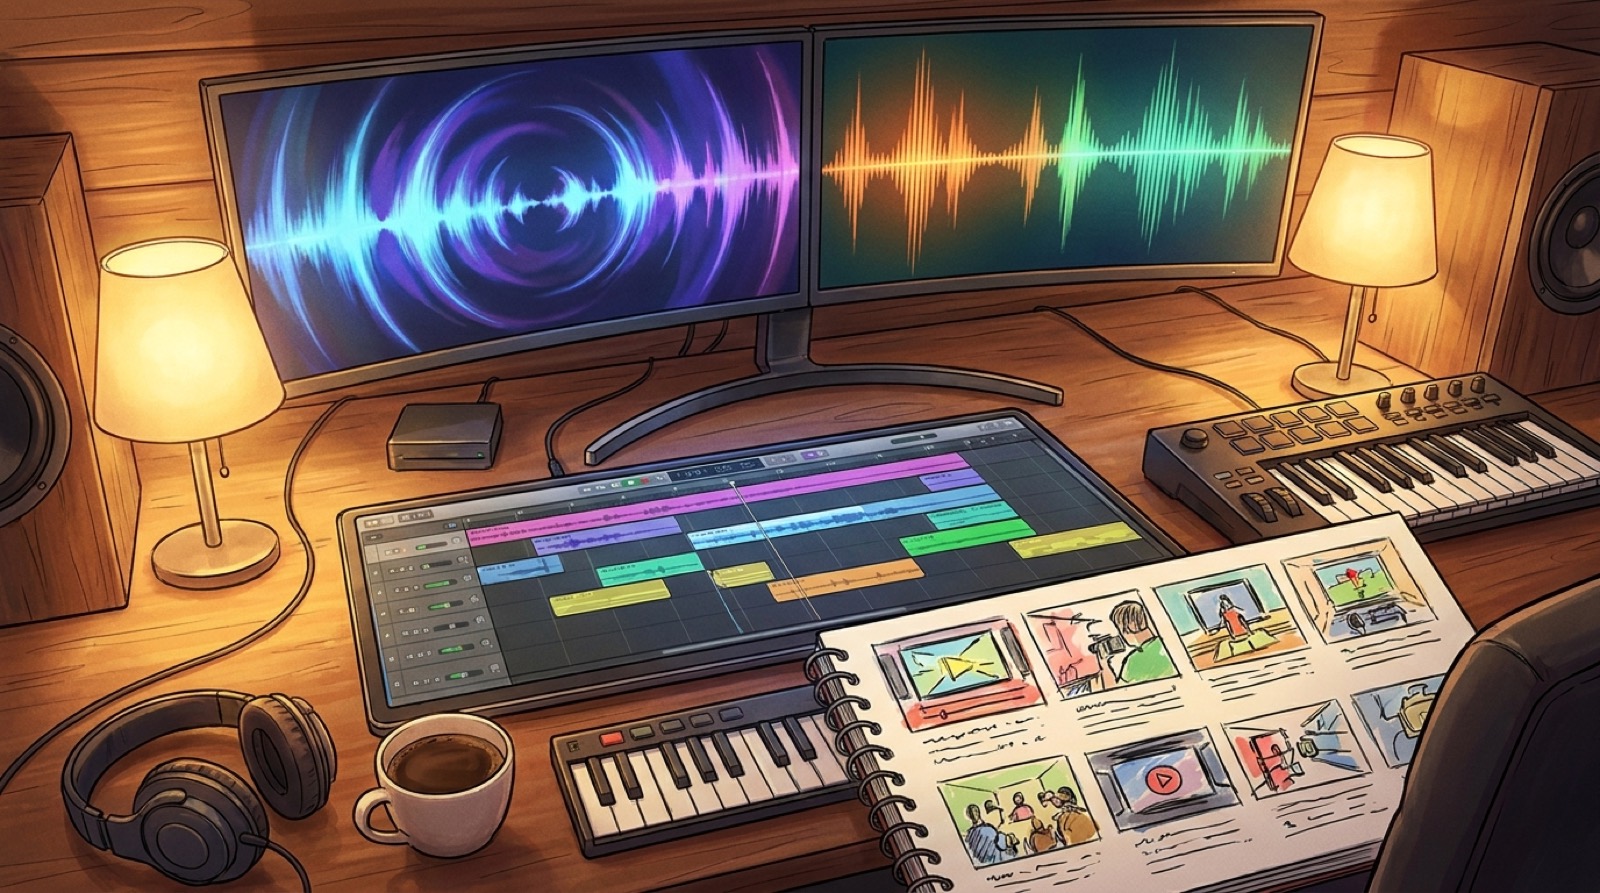
I like to keep one folder for the final song, cover image, video direction notes, thumbnail, description, and clips. That sounds boring, but it saves you from guessing which version of the song was used when the video is ready to upload.
Use the cover image as the visual anchor
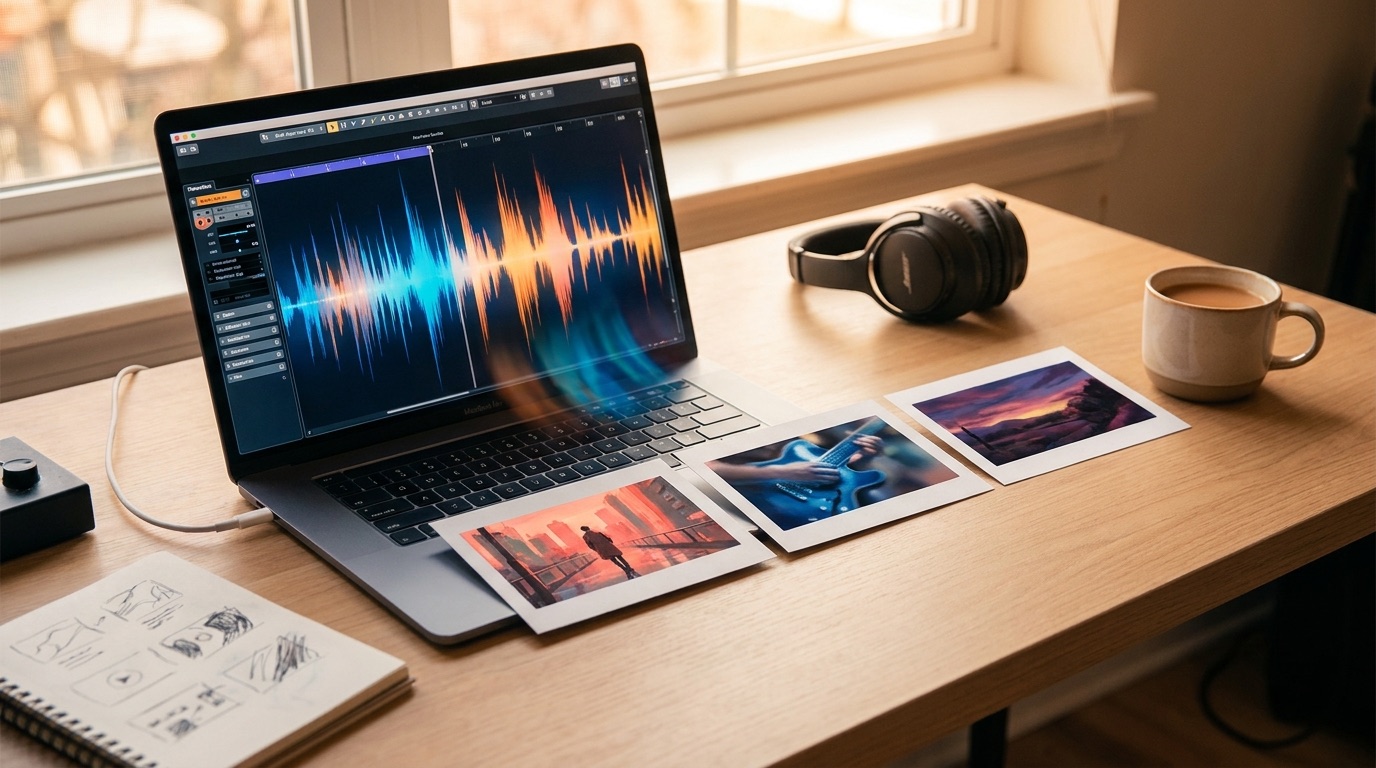
The cover image is usually the fastest way to keep a Udio to music video process under control. It can set the color, main character, room, object, landscape, or performance mood. If the cover is weak, fix it before you generate scenes.
A strong anchor does not mean every shot has to repeat the same image. It means the video keeps returning to a recognizable world. A lonely neon diner, a black-and-gold stage, a rainy bedroom studio, or a desert road at dusk can hold the whole song together better than ten unrelated cinematic shots.
Map the song before making scenes
Listen once and mark the basic structure: intro, first verse, first chorus, bridge, final chorus, outro. Then write one visual job for each section. The intro might establish the world. The first verse might show the performer or setting. The chorus might widen the frame and raise the energy. The bridge might break the pattern for a few seconds.
This does not need a full storyboard. A SceneLore sequence works best when each section has a clear purpose and one visual rule. You are trying to give the song a spine, not micromanage every frame.
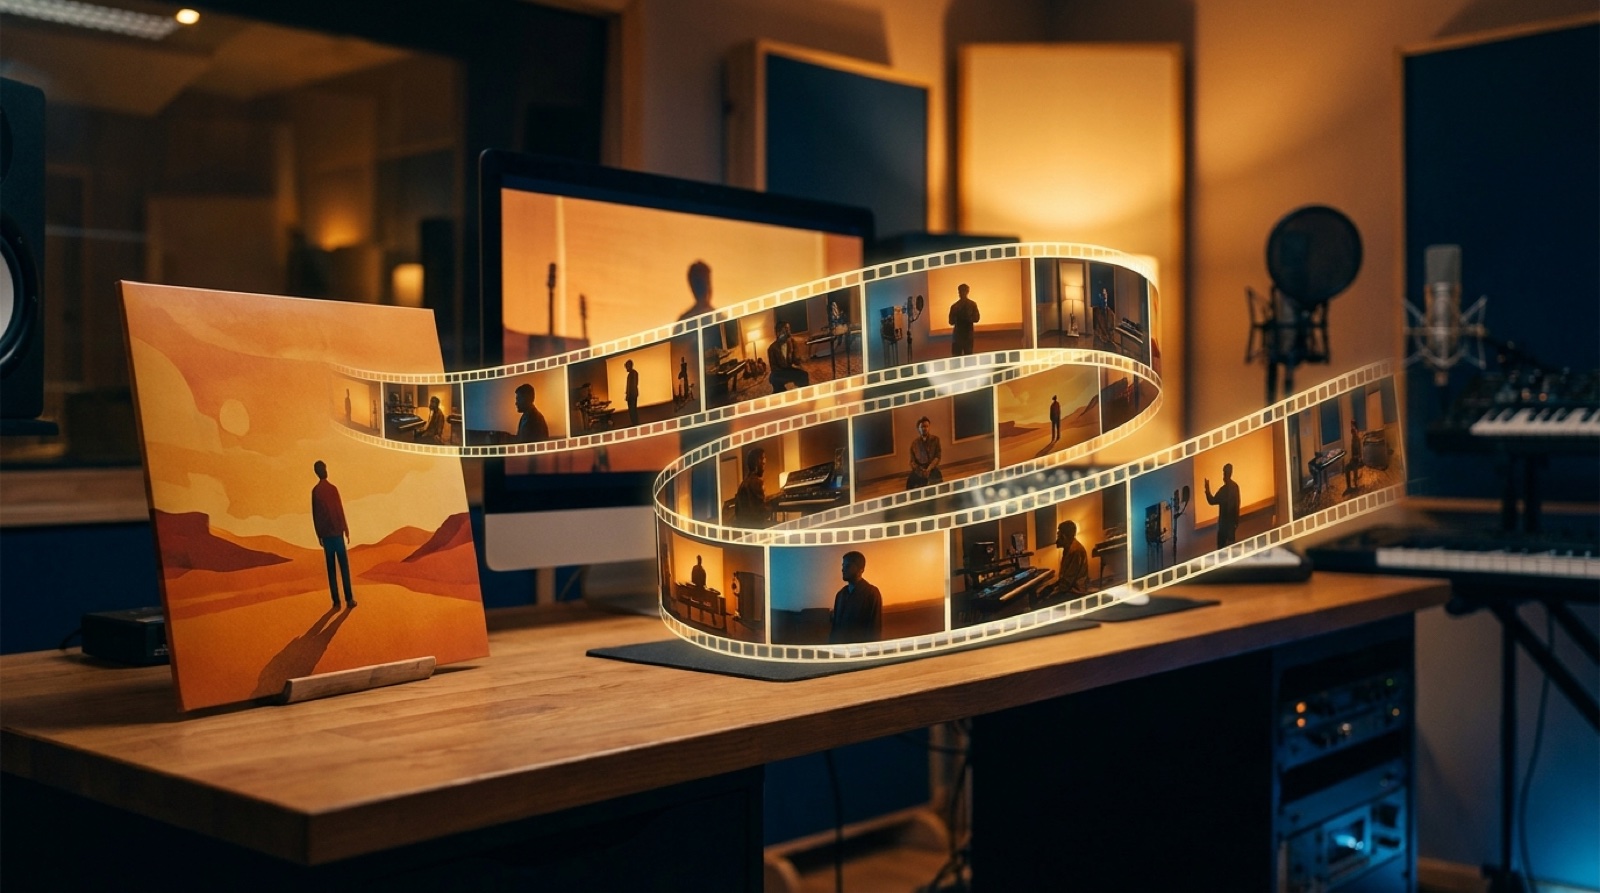
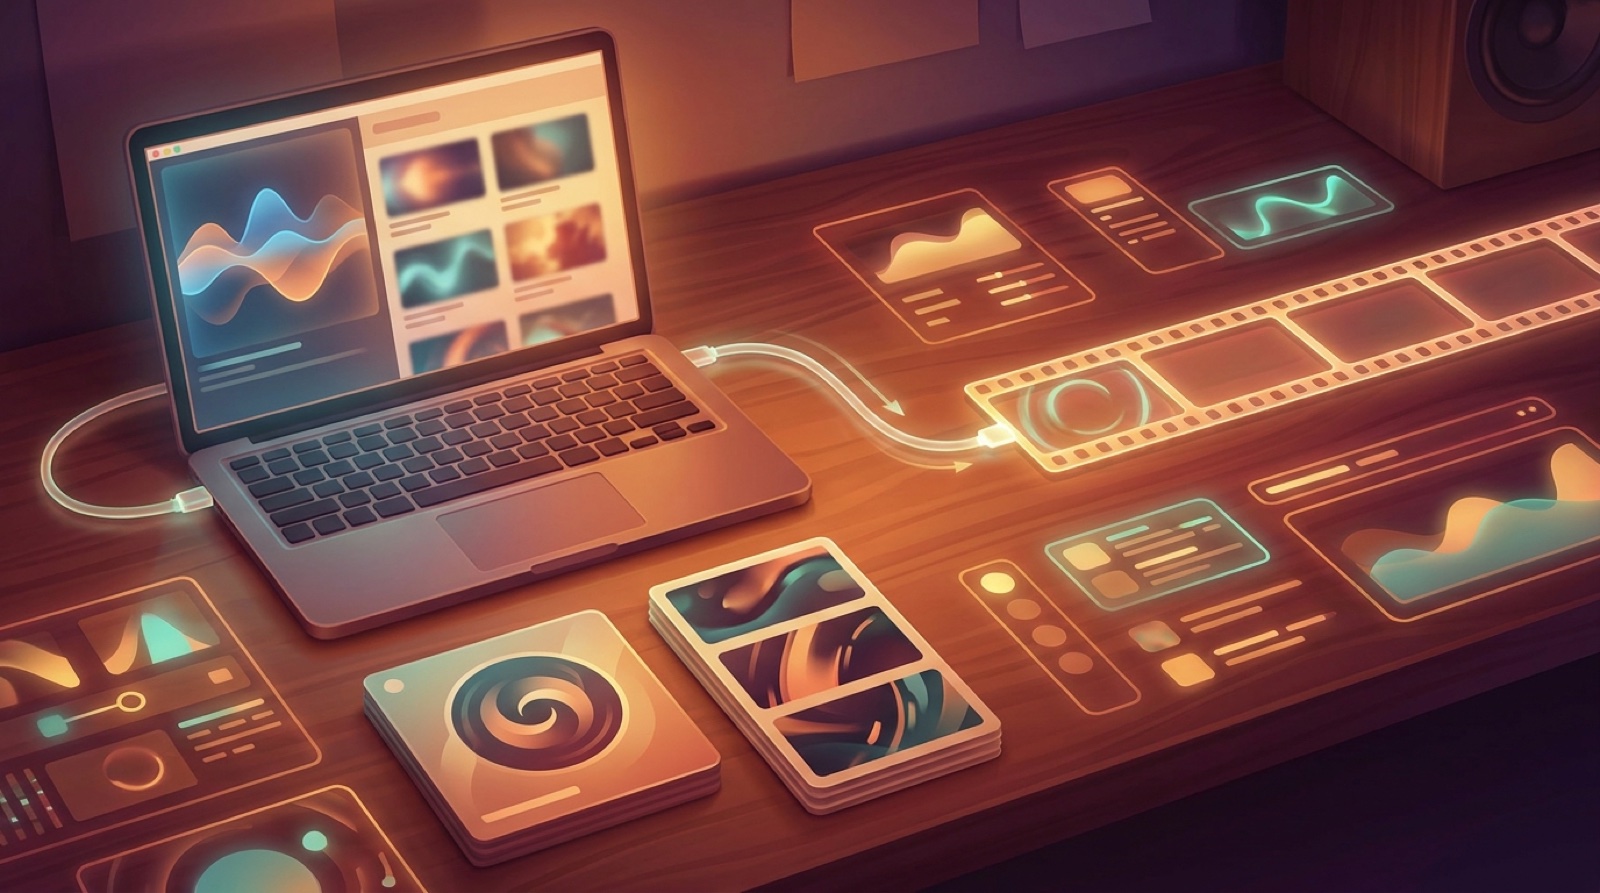
Build the SceneLore sequence around changes in the song
Upload the finished audio or start from the cover image, then plan the sequence around the moments where the song changes. Keep shot descriptions specific enough to hold the mood. Avoid vague prompts like "cool music video" or "cinematic performance." They give the model too much room to wander.
For a synth-pop Udio track, you might use glowing city windows, a singer reflected in glass, and quick cuts during the chorus. For acoustic folk, you might use a morning room, close hands, and outdoor movement. The point is to make the video feel like it belongs to this song.
Prepare the YouTube upload package while the video renders
Do not wait until the MP4 is done to think about the upload. Write the title, description, thumbnail idea, credits, disclosure language if needed, and pinned comment while the video is rendering. YouTube has guidance for uploading short-form videos through its Shorts help page, so keep vertical clips in mind before the full video is the only asset you have.
The full YouTube video needs a title that sells the song, not the tool chain. Mention Udio or AI music only if that is part of the artist story or audience promise. A release titled like a software test will usually feel smaller than a release titled like a song.
Cut short clips from moments with visual proof
After the full video is ready, choose clip moments where the visual change happens quickly. A chorus lift, character reveal, strong camera move, or sudden color shift will usually work better than a slow intro. Short clips need to make sense with the sound off for the first second, because many people see the frame before they commit to the audio.
Save each clip with the song name, platform, and section. Keep the thumbnail frame nearby. If the release does well, those small records make the next Udio music video workflow much faster.
Make the release feel connected
The goal is not to prove that every asset came from the same tool. The goal is to make the cover, video, thumbnail, description, and clips feel like they came from the same artist. That is what makes a Udio YouTube release look intentional instead of patched together after the song was finished.
SceneLore is built for this exact gap: you have a finished song, maybe a cover image, and you need a full video that stays connected long enough to publish. Use the app when the track deserves more than a static upload and you do not want to hand-stitch random clips.
FAQ
What is the best Udio music video workflow?
Start with the final exported song, choose or improve one cover image as the visual anchor, map the song structure, build a SceneLore sequence around the main changes, then prepare YouTube and short clips from the same visual world.
Can I turn a Udio song into a YouTube video without editing?
Yes, if the workflow is planned before generation. You still need a clear visual anchor, a song map, and upload assets, but you do not need to hand-stitch unrelated clips.
Should the cover art lead the music video?
For most independent Udio releases, yes. Cover art gives the video a repeatable world, color, object, or character, which helps the full release feel connected.
Turn your Udio export into a visual release
SceneLore helps you turn a finished song or cover image into a full-length music video with connected scenes and a release-ready visual direction.
Create Your First Video